How to use the morgenman Noise Modeller
(Available in: English, Português)
If you have any issues with this guide or the program please join my support chat.
Why make a noise model?
The main point of a noise model is to reduce camera noise. There are three kinds of noise captured in most images, but we are just going to focus on two of them: Luma and Chroma.

As you can see above, the chroma noise is the random specs of color scattered over the image. Luma on the other hand is changed in darkness or lightness on a per pixel basis.
Chroma noise is often the most noticeable, and it is what the noise models primarily target. Once you have a working noise model, if you are still having issues with luma noise I recommend trying to fix the rest in lib/rampatcher.
Without a noise model in GCam v8.x+ either a system profile is used, or the default one bundled in GCam. These profiles are often not very good for your device, and can over-smear your image as well as cause banding.
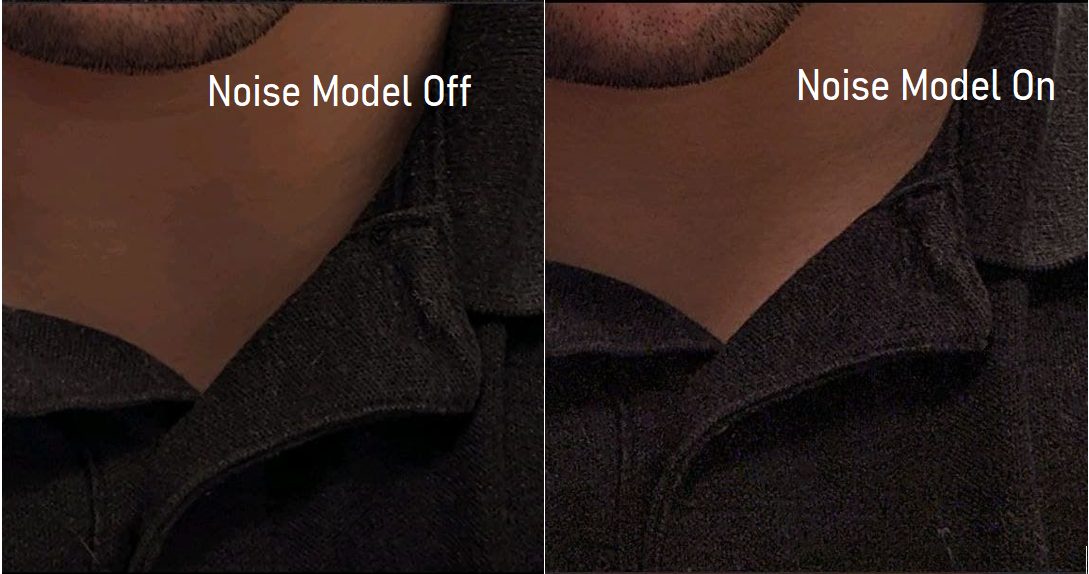
You can notice in the above image that there is quite a bit of detail lost, especially on the shirt and stubble. On the neck you can see banding when a noise profile isn't loaded.
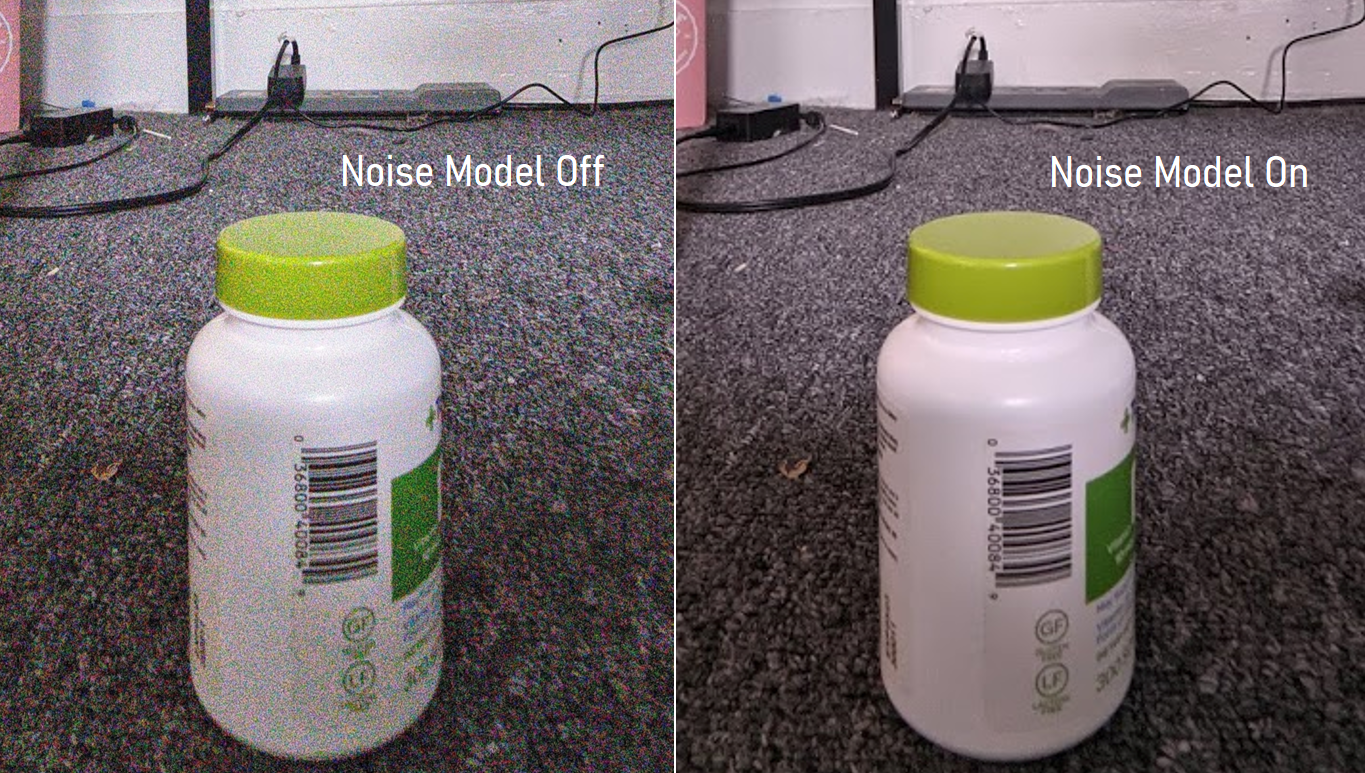
Now let's look at what happens if you have an incorrect noise model loaded:

This is called color leaking. See how the blue of the bottom has escaped Using a profile not designed for your hardware (especially of a different resolution) can cause this.
Do I Need To Make a Noise Model?
Please check this link to see if your device has already had noise models made for it. Files should be labelled appropriately, but sometimes aren't. This is a side effect of crowd sourcing material, I will try and clean it up when I can. If there is a model for your sensor, but not from your device, I recommend trying it to see if it gives you good performance.
How To Make a Noise Model
First, download the latest copy of the software here:
https://www.celsoazevedo.com/files/android/morgenman/noise-modeller/
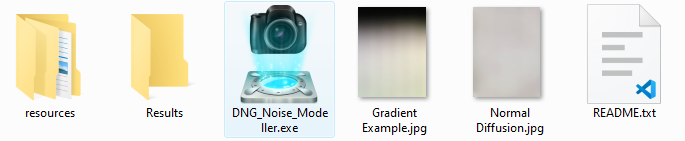
When you extract it, you should see the following files:
The first thing you should always do is read the README.
It will familiarize you with a lot of the instructions in this guide, and will be specific to the particular noise modeller you have downloaded. This guide was written for 4.3, and might not be updated for every release.
Next, you need to make sure that your device has USB Debugging enabled.
When you are ready, plug in your phone and run the exe. I will try and submit it to virus databases so it doesn't flag virus safety warnings, but no promises, as it's a pain to do.
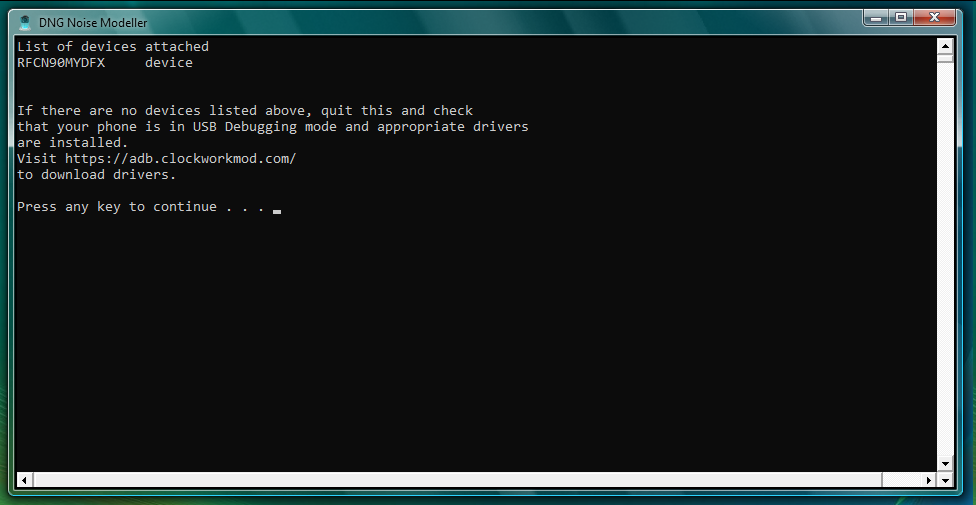
When running the exe, the first thing you should see is a device attached listed at top. In my situation, RFCN90MYDFX is my device.
The next screen will look like this:
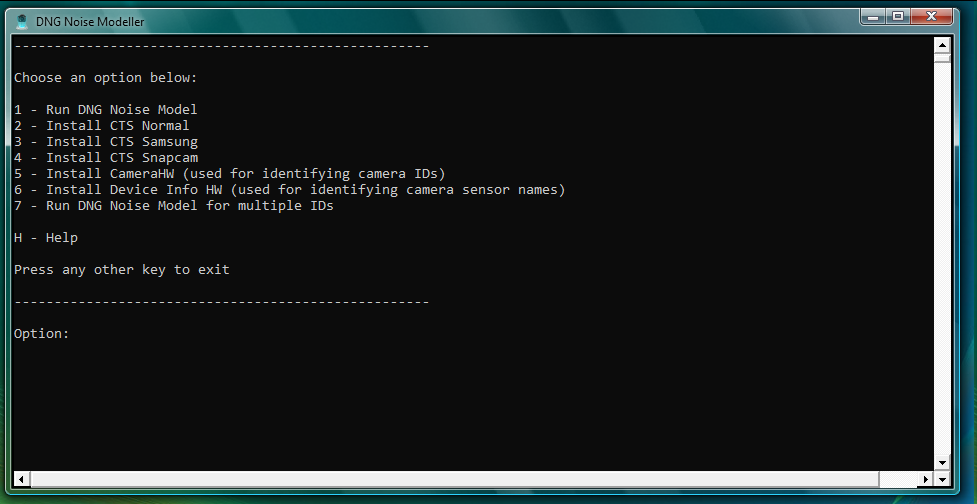
The first thing I would do at this point is gather information about your device. You are looking for two pieces of information: IDs (a number) used for each of your lenses, and the name of the sensor used. For example, my main camera on my S20FE 5G is ID 0, and the name of the sensor is IMX555.
Finding Camera IDs
On many devices there are duplicate IDs. Often only one will work in GCam. On certain phones, especially Samsung devices, different IDs expose different features. For example, ID 1 on my phone is the front camera, but it's cropped. ID 3 however offers the same sensor, but uncropped.
If you have a working GCam for all lenses, and know what IDs it uses, and skip to the next section.
To try and figure this out, I recommend installing CameraHW from the main menu (option 5).
Do not worry if you see the following message: Failure [DELETE_FAILED_INTERNAL_ERROR]. It just means that the app has never been installed before.
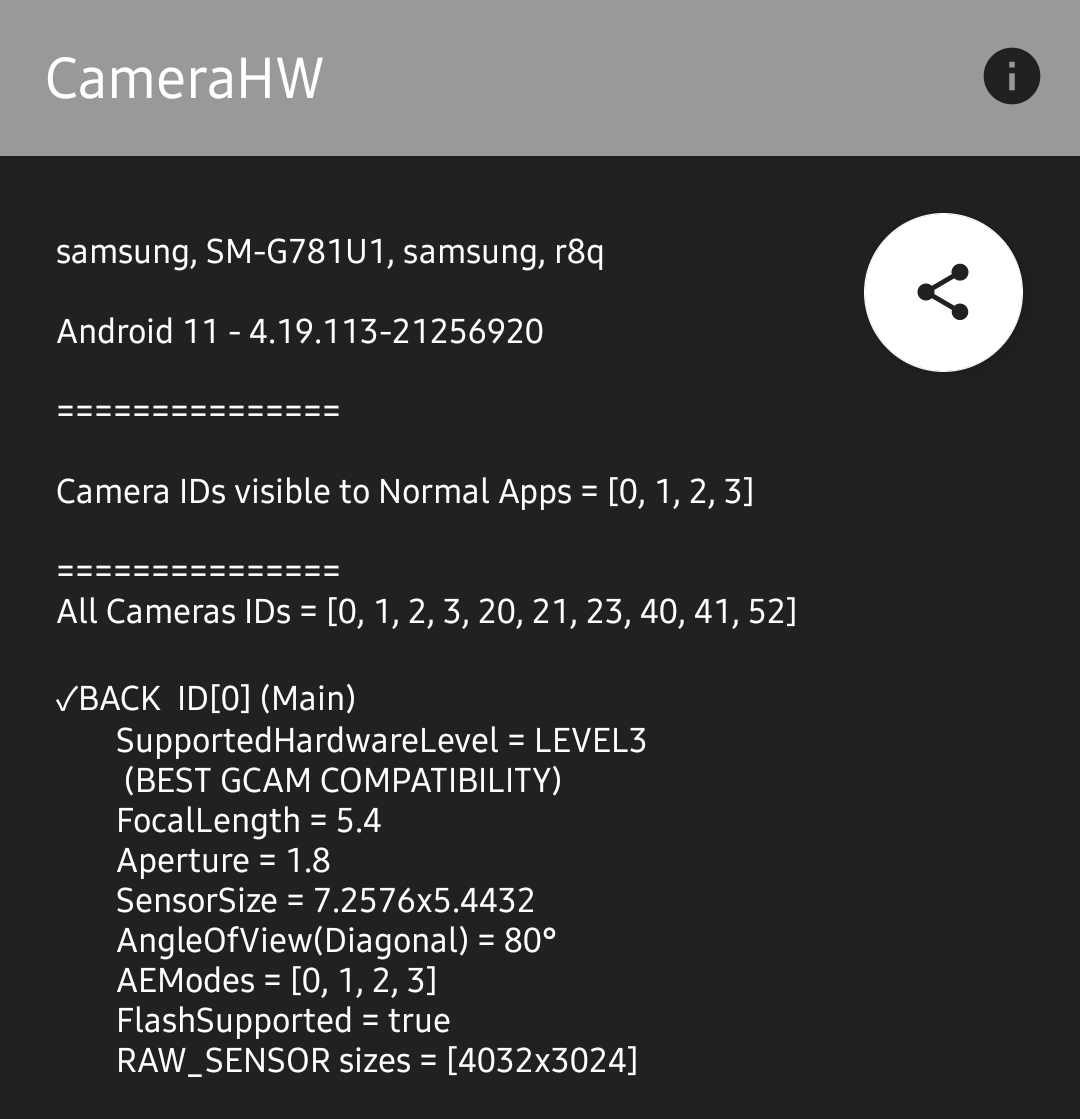
When you load CameraHW, you should see the top screen. You will want to write down the lenses listed in all camera IDs. When you scroll, you will see that each entry will tell you if it's front or back, as well as other assorted information. You can look at the AngleOfView to figure out whether the lens is a wide angle, normal, or telephoto lens. (respectively mine are 73, 80, and 32).
You will also notice some IDs are 'combo' IDs:
(logical)BACK ID[20] = ID[0+2+52]
Here, ID 0 is my main lens, 2 is ultrawide, and 52 is telephoto. Typically the lenses mentioned in the combo IDs are the right ones for your device.
The only real way to test this is to find a GCam build that allows you to put in IDs manually, and test them.
At this point, you should know the IDs of all your lenses you hope to make a noise model for.
Finding the Sensor Names
I would first check with other members in the community to see if this information is known already.
Be careful, often different variants of devices, especially region locked ones, have different camera hardware. On my device, the Exynos version uses a different main sensor, and thus needs it's own noise model.
Also, I advise you not to use a website for this information. Every single one I have found has had some wrong information. Often they don't distinguish between different variants, which can lead to problems.
I have bundled a tool that can be installed from the main menu that will help you identify sensor names. It can be installed on the main menu using option 6.
Do not worry if you see the following message: Failure [DELETE_FAILED_INTERNAL_ERROR]. It just means that the app has never been installed before.
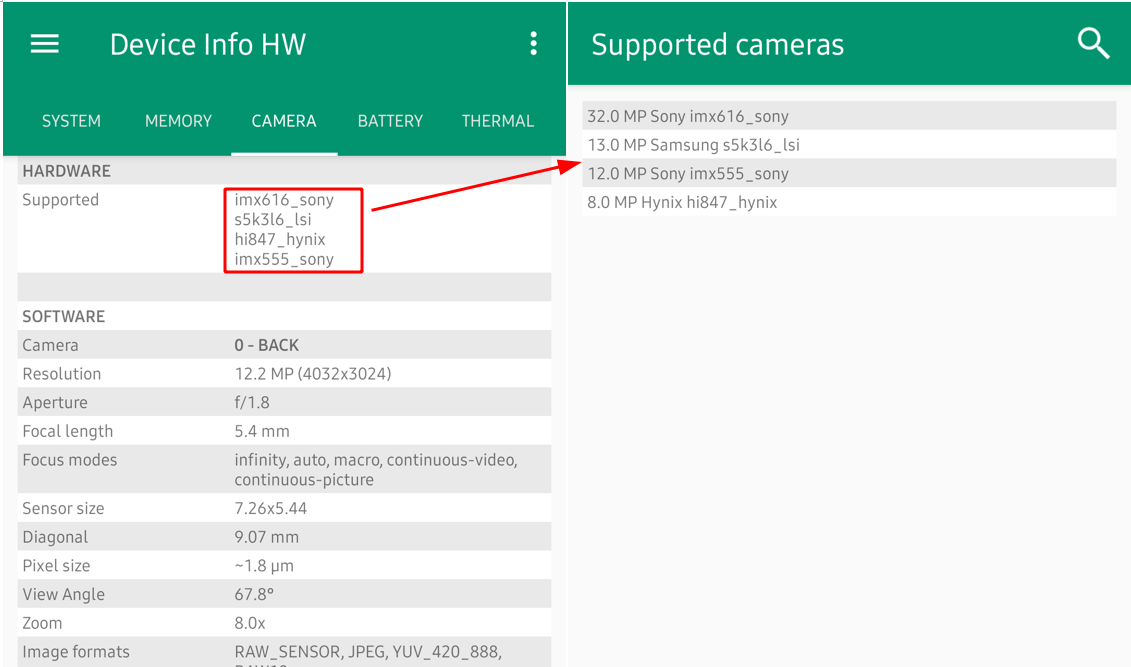
Open the app, and see if there is a section for "supported" under Camera.
Note: this app does not work for all devices. If you don't see a "supported" section, please contact the support chat. There is an alternate method of identifying them for Samsung devices.
If your app looks like the above screenshot, tap on the sensor names. Theses are the sensors. You can use the resolution to cross reference them to the IDs. If you are unsure which goes to which, please ask in the support chat. We don't want models being uploaded with the wrong information. You may find also that some lenses are not shown here. Again, contact the support chat.
At this point, you should know the ID and name of the sensors you will be creating noise models for.
Installing CTS Verifier
In order to make a noise model, you need CTS Verifier installed on your device. If you have done noise models before, you may have this installed already.
Otherwise, choose an option from 2-4 for your device. If you have a Samsung, choose the one that says Samsung. If you have a OnePlus, you probably want the one that says SnapCam. Otherwise, you probably want the normal one.
If you have installed any of the other variants, installing a new one will fail. Please uninstall all CTS Verifiers before installing a new one.
Do not worry if you see the following message: Failure [DELETE_FAILED_INTERNAL_ERROR]. It just means that the app has never been installed before.
Once installed, you don't have to open it at all. It should run in the background automatically when called from the computer.
Making a Model
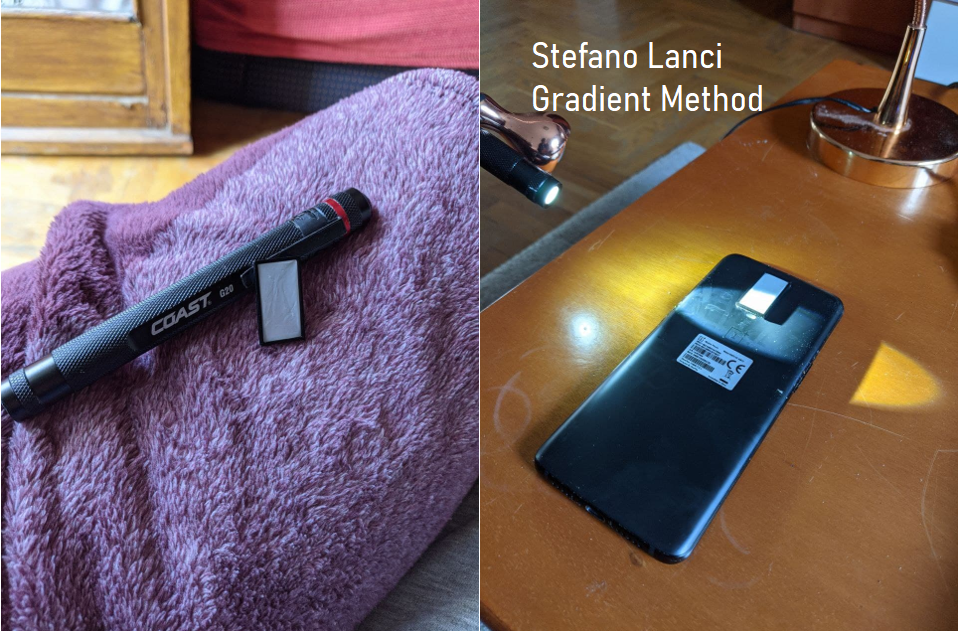
In order to make a noise model, you need to setup your phone so there is a material to diffuse light in between you and a light source.
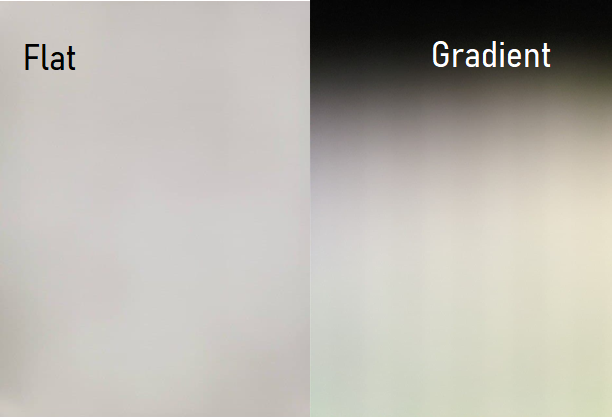
There are two main types of models: flat and gradient. Flat is easier to do, and for most users, it is good enough. Some community members recommend making a gradient however. The reasoning is as follows:
- For every ISO value your camera has, your device will capture an image. The images need to be exposed a particular way to gather the information correctly. The photos need to be out of focus with a widespread histogram, as in a gradient. We need overexposed and underexposed areas, but mostly particularly the grey areas in between. These areas contain the information we are looking for when generating a proper noise model.
- A gradient can be created using an image the one included in the noise modeller folder, or you can create one yourself by drawing it manually. You can do this easily by using a sharpie and pencil. Start from the right with the sharpie to make it completely black. Then start the next line with a dark pencil shade. Then a lighter shade on the next line and so on. The far left line in the gradient should be completely white, untouched.
- SixArmedPriest
There is a variety of methods to make either. Any of them should work fine, but you might get better performance on one or another.
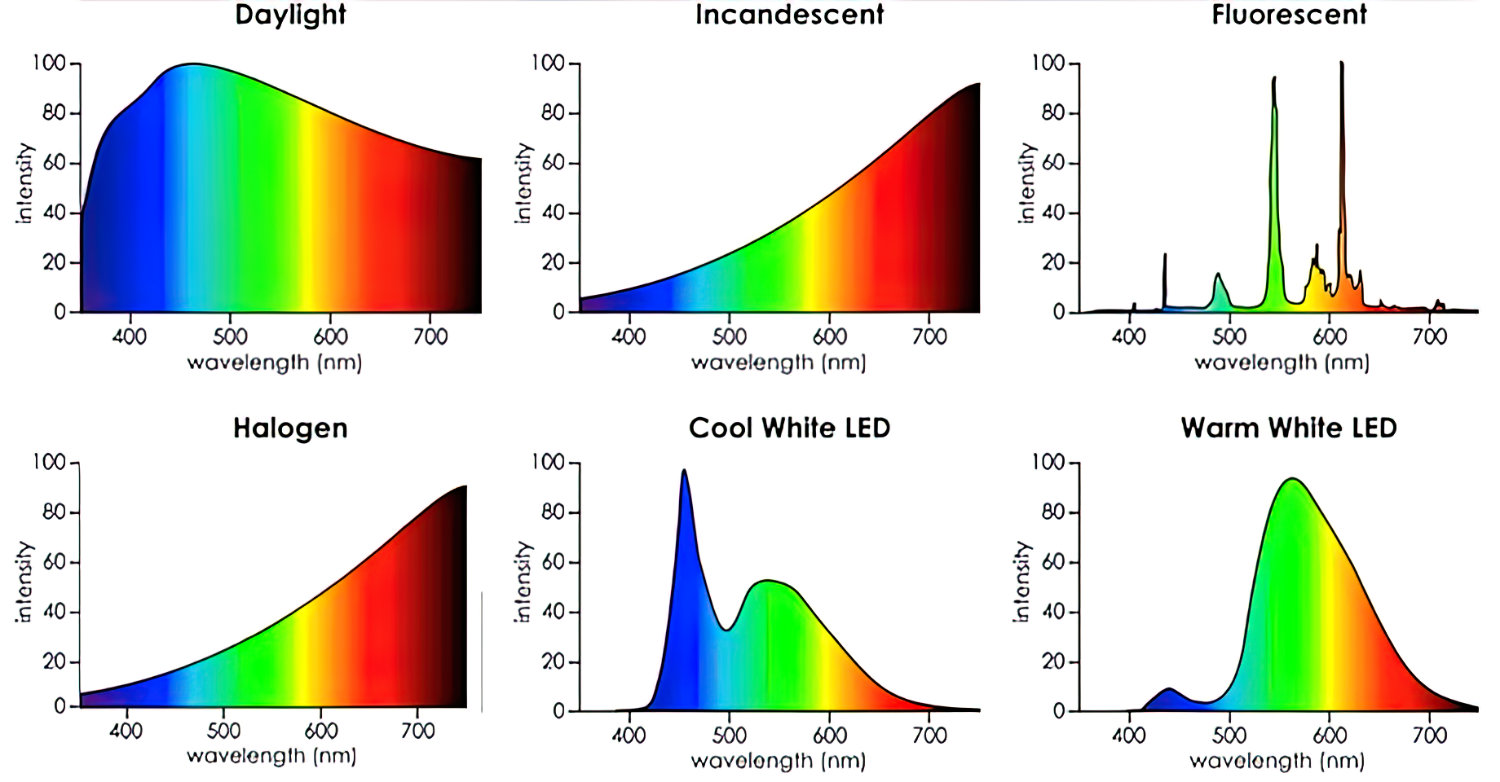
Note: Please do not use fluorescent light, it uses a much more narrow spectrum of frequencies to display a white light:
Types of setups for noise models:
1. Simple
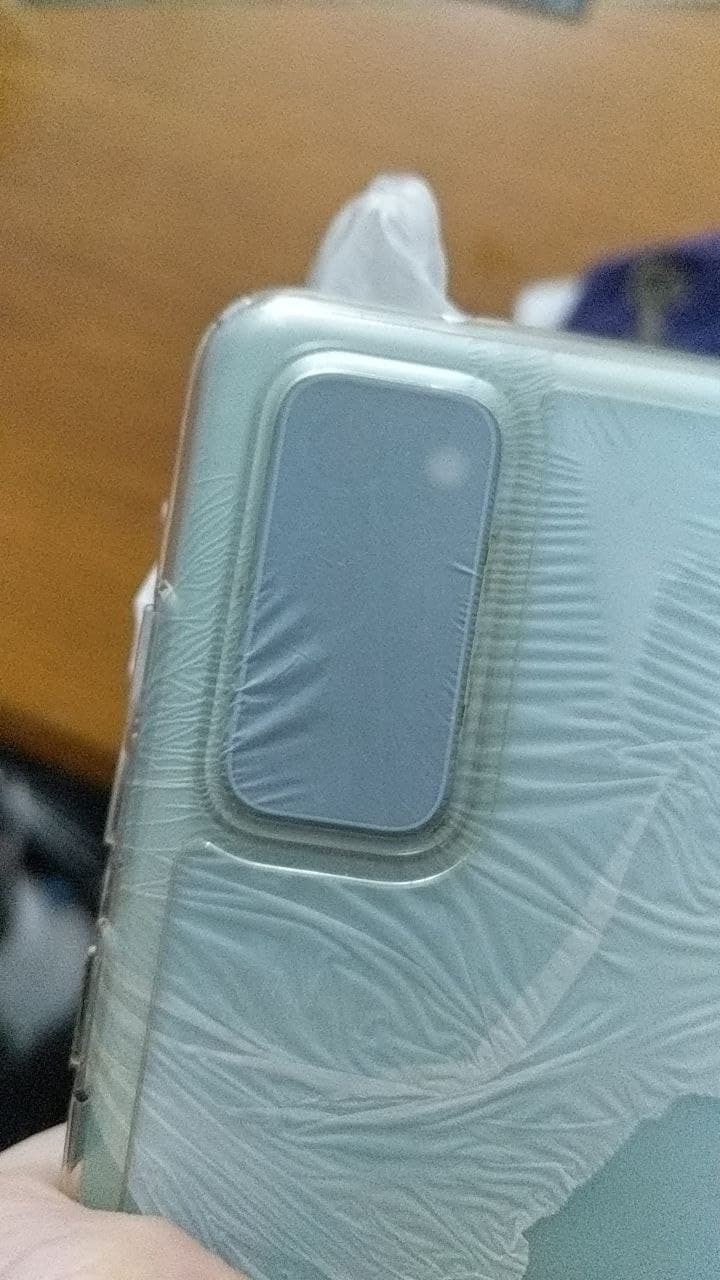
The easiest method to make a noise model is to choose a simple material that allows some (but not all) light through it, putting your phone in the middle of the room pointing at the ceiling so only a white ceiling is in it's field of view, and running the modeller.
You can use a variety of materials for the diffusion layer, from a plastic bag, to a sheet of paper, to a taco bell wrapper, to a piece of toilet paper. The only limit is your imagination
The original documentation for the DNG Noise Model script recommends simply a piece of scotch tape over the lens.
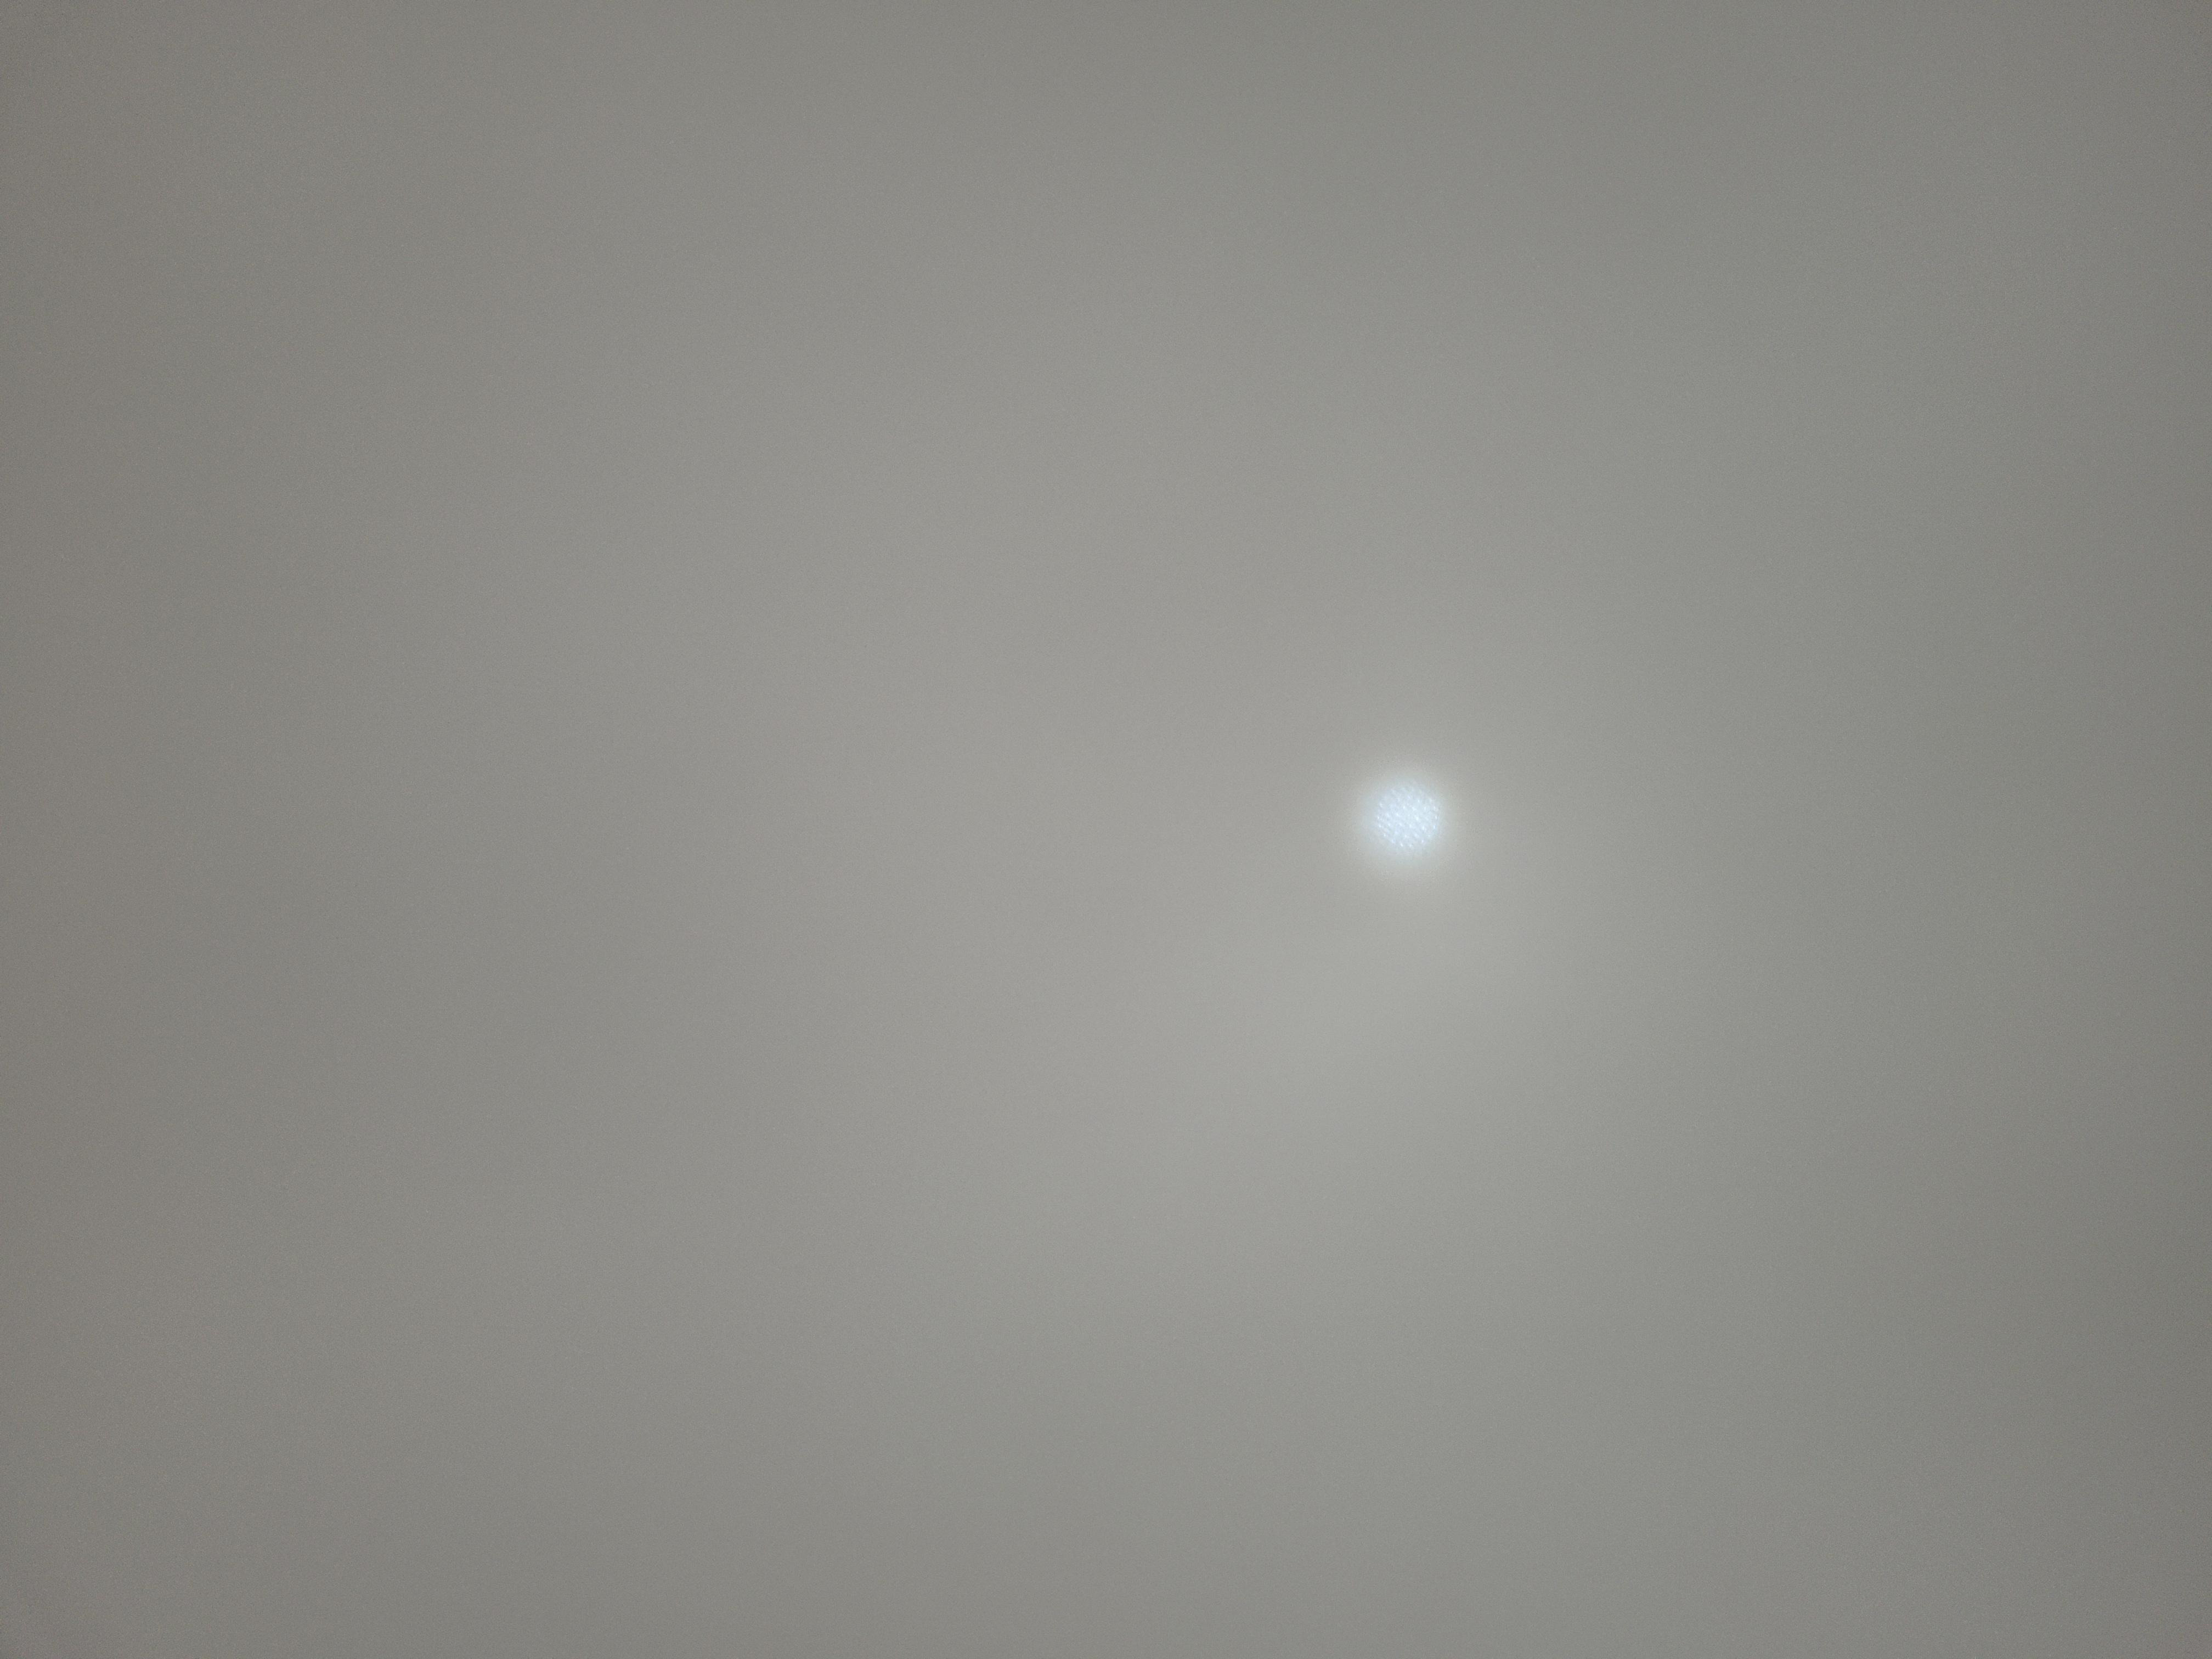
The important part is you want to minimize any bright spots where the light source shows. This is mainly an issue when you have a ceiling mounted light. See below for an example.
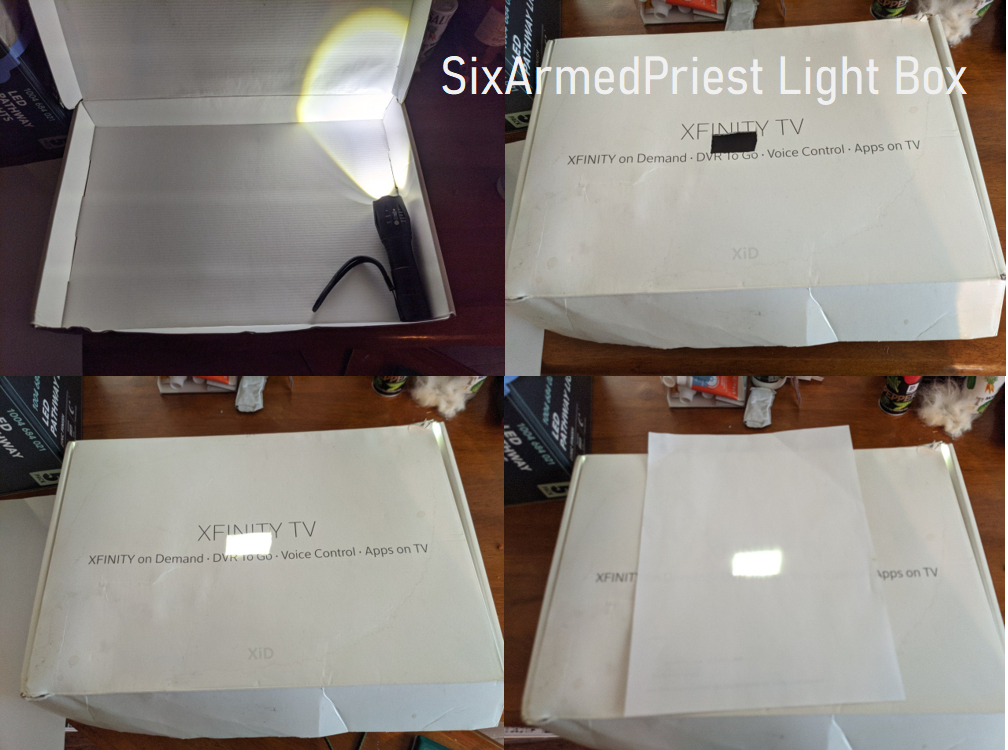
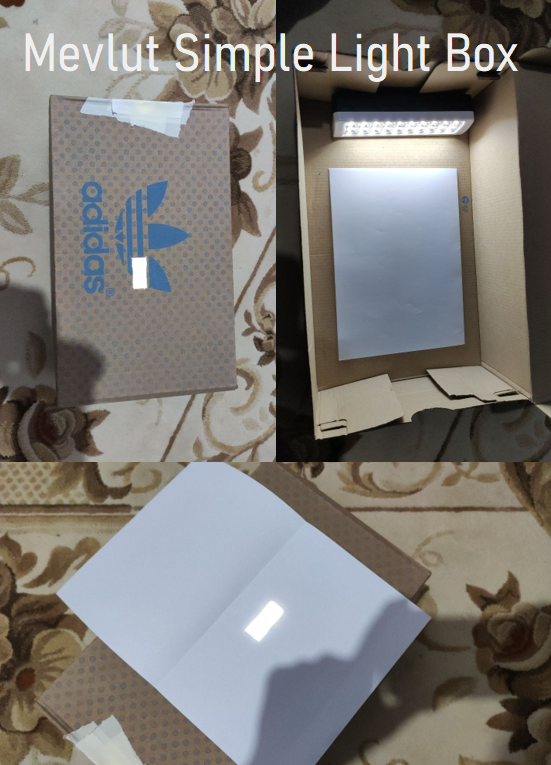
2. Light Box
Making a light box is difficult and requires time and resources, but can be useful if you need to make noise profiles for several phones.
I will try and fill in this section with a how-to at some point, but as I have not made one before, I will not be doing it yet. Some can be found under Exotic.
3. Exotic
The following is a section for any new weird or wacky methods of capturing a noise model.

Running the Script
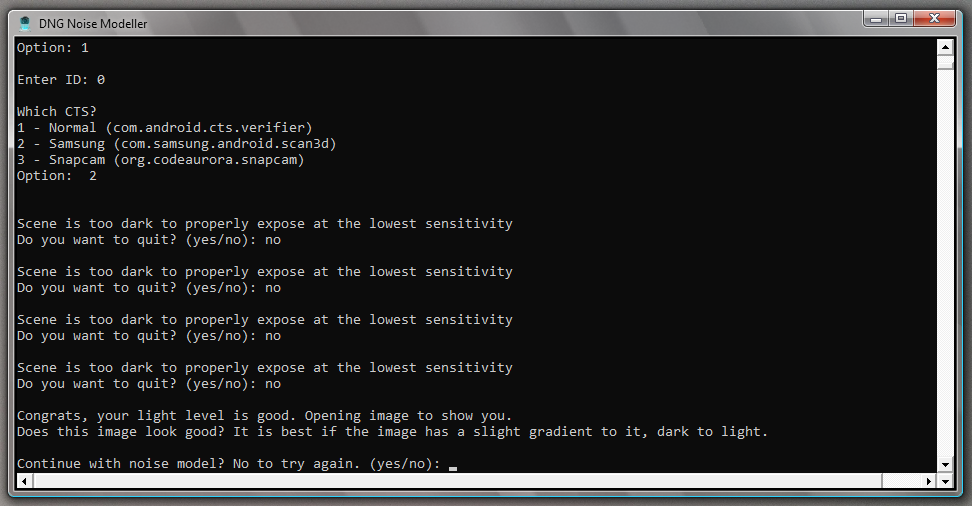
To make a model for lens, simply choose option 1 on the main menu, put your lens ID, put the CTS Verifier you installed from the main menu, and wait for it to give you feedback.

Assuming you don't have any errors (see troubleshooting below), you will probably see either a message saying too light or too dark. Shortly after the message shows, an image will pop up showing you your output. In the above image the camera captured only darkness, since it was face down. You want the image to look like either the flat or gradient example from above.
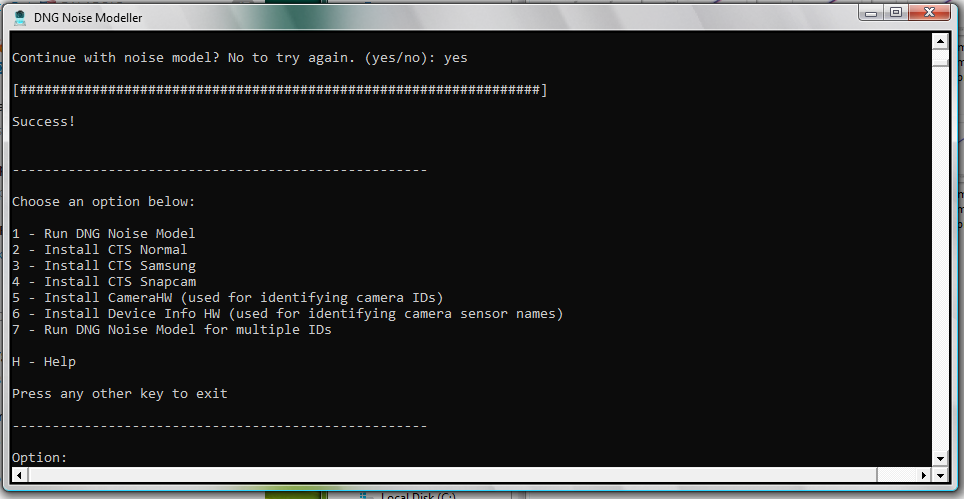
Once you get the light level just right, you should see the following message:
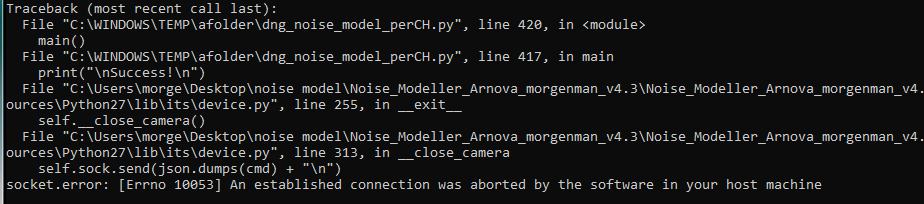
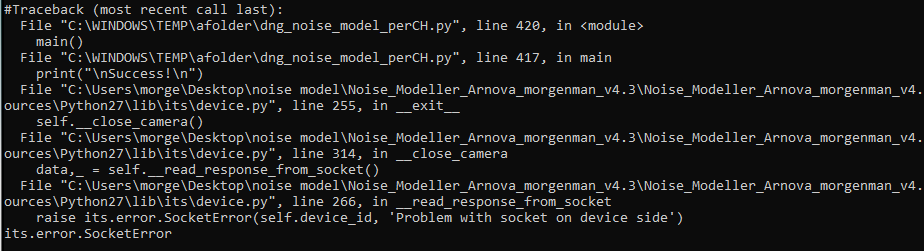
If the image at this point looks good, run the model. You should see a progress bar. If you get an error mid model, try again before contacting support.
Please do not worry about the graphs outputted in the folder. While it is possible to gauge roughly how much your device 'needed' a noise model, there is no clear way to identify how 'good' a model is without simply testing it. Just because a model has a large variance at certain ISOs doesn't mean that the noise model is bad, it could also mean that your lens just has a lot of noise at that ISO.
Some users (Stefano Lanci) choose to take several models, and average the results. He takes two front to back gradients, two back to front gradients, and one flat. It is not necessary to do this, but if you are unhappy with your results (from testing in a GCam build), feel free to try it.
Once you are done, you will need to go in the results folder that corresponds to the lens you have made models for. They are organized by ID, I recommend writing down the lens name in the folder title.
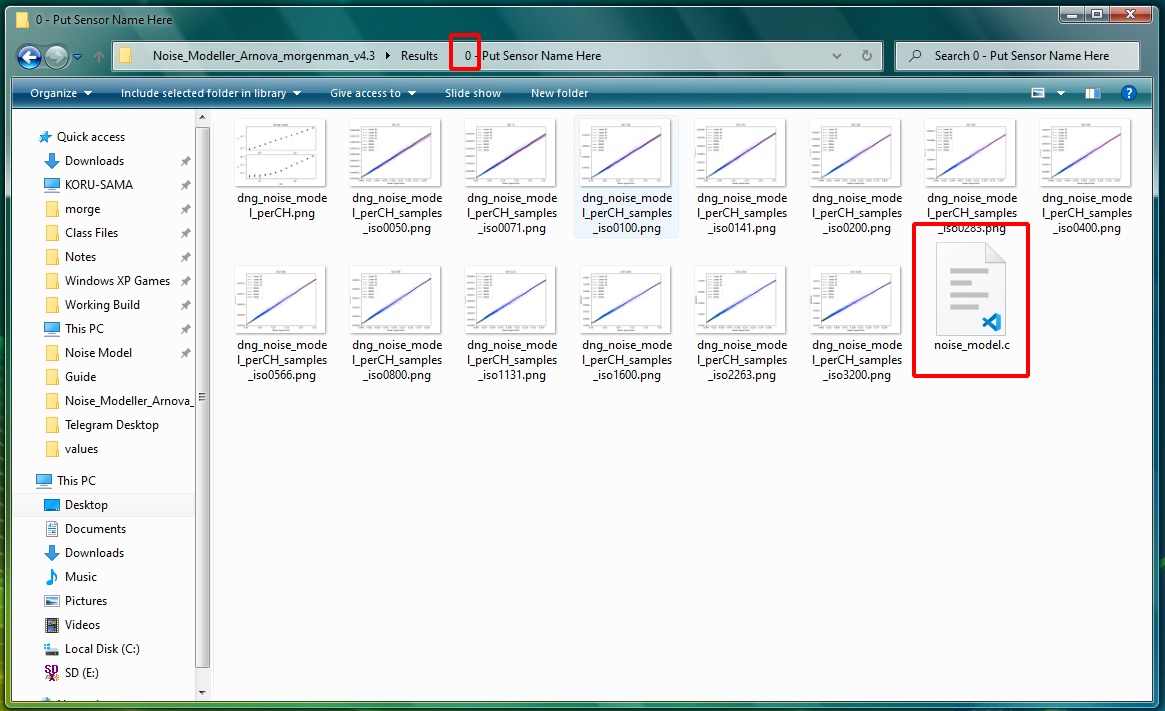
The file that contains your actual results is stored in a "noise_model.c" file.
Please take this file and rename it according to the following convention:
PhoneName_SensorName_ID_noise.c
If you don't know the sensor name, use the form PhoneName_ID_noise.c
Please make sure phone name is the common name. EG write: OppoFindX2Pro instead of fx2p.
If your phone is a special variant with different sensors (like some exynos phones) write the variant at the end of the name.
EG write " S20UExynos " instead of just "S20U"
If you are uploading a new noise model for a device that has already been modeled, please add _new or _fix to the phone model name.
For example: S20FE_FIX_IMX555_0_noise.c
The form is located here:
https://forms.gle/pnrFbwKK2jFF2P8x6
If you have any questions, please contact me.
Troubleshooting
Below are some common errors and ways of fixing them:

- Your device is in a locale that uses a ',' instead of a '.' for numbers. Change the locale and try again.
- Your computer has disconnected you from your device. Try again, and if it still doesn't work use a different USB port
- Error with talking to CTS Verifier app. Could be that your phone killed it mid test for battery, could be that you have the wrong CTS verifier installed, that you chose the wrong option for CTS when making the model, or that you never installed CTS Verifier. Often fixed by just trying again
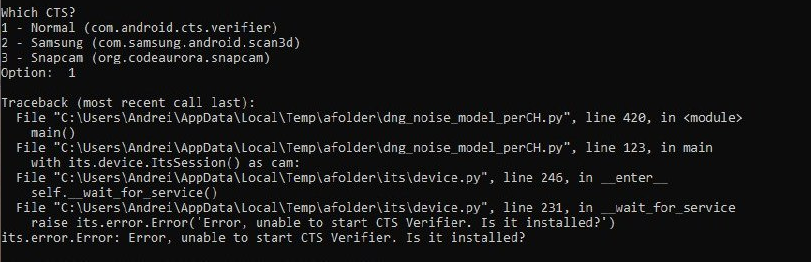
- Script does not see CTS Verifier. Seen recently on MIUI phones. Could be that ADB access is restricted to launching apps, could be that CTS isn't installed.